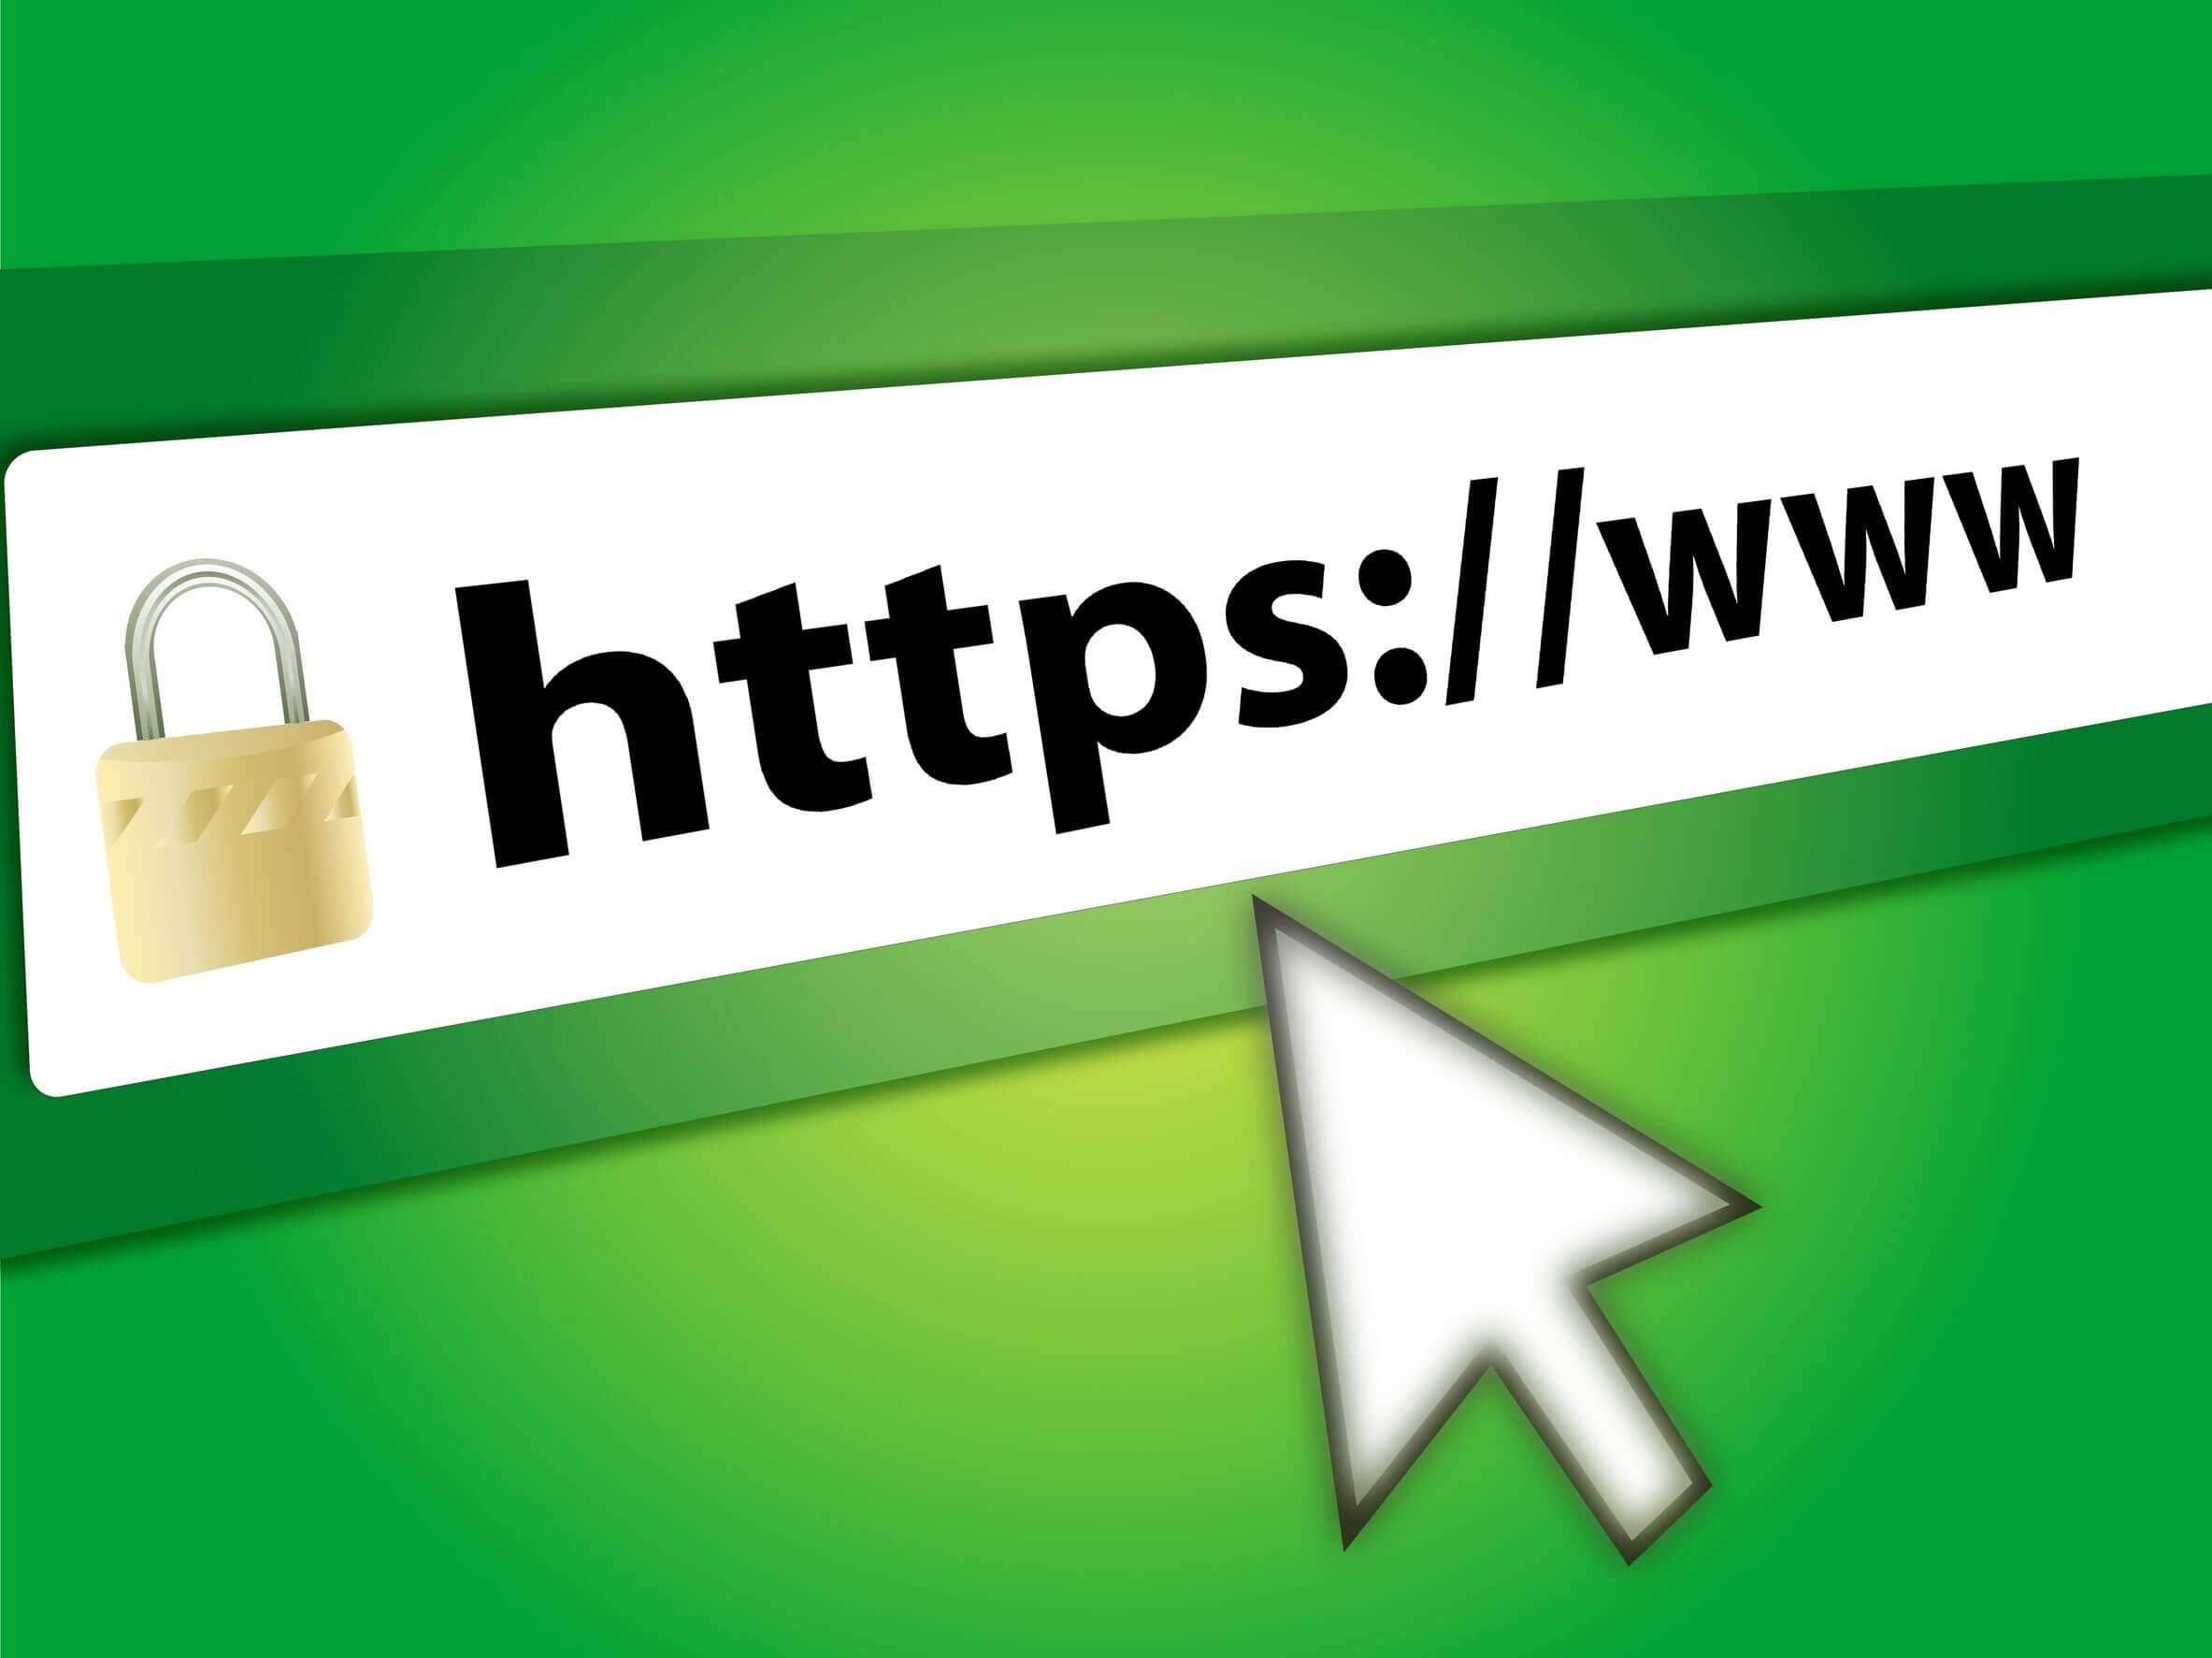
The importance of ensuring your website has an active SSL connection has never been more prevalent. In July 2018 Google Chrome (roughly owns a 50% market share of browsers used in the UK) started displaying websites with an “untrusted error” as well as Google actively saying an SSL certificate will help with organic ranking in their search results.
As well as the added benefits from search engines, their primary purpose is to keep important information/data safe. By encrypting the data customers enter on your website, you’re keeping their personal information secure such as bank details, address, contact information and anything they enter. With a surge of websites switching to HTTPs, it’s now estimated over 73% of webpages load up with a secure connection. Not all websites do however and some big brands haven’t made the switch yet, meaning customers are greeted with the page below when trying to access a secure connection.

Create a Private Key
We’re going to go ahead and presume you’ve purchased your SSL certificate from a reliable source, we tend to use GoDaddy SSL, however, any reputable company offering an SSL should do, you can even get a free SSL from Lets Encrypt.
Firstly you’re going to need download and install OpenSSL which is a toolkit for the Transport Layer Security or TLS. Once installed we can start the process of creating a private key;
- Open a command prompt on your desktop. You can do this by clicking Start > Accessories > Command Prompt, or type CMD into the Search/Run function of windows.
- Type C: then enter to change your directory
- Type openssl and enter
- Copy and paste the following code changing “sub.mydomainkey” to your subdomain and main domain
genrsa –des3 –out <sub.mydomainkey>.key 2048
Once you have completed these steps you will be required to enter a secure phrase. It’s very important you keep a record of this as it’s your password which protects your private key.
Generating a CSR (Certificate Signing Request)
When generating a new CSR the SSL provider may have specific instructions or guidelines. To generate the CSR;
- Open a command prompt on your desktop. You can do this by clicking Start > Accessories > Command Prompt, or type CMD into the Search/Run function of windows.
- Type C: then enter to change your directory
- Type openssl and enter
- Copy and paste the following code changing “sub.mydomainkey” to your subdomain and main domain
req –new –key <sub.mydomainkey>.key –out <sub.mydomainkeycsr>.csr
After this, you will be required to enter some information about your business and website. This will be;
[/vc_column_text][vc_row_inner][vc_column_inner][gem_table style=”3″ row_headers=”1″]
Name | Explanation | Example |
|---|---|---|
| Common Name | The fully qualified domain name (FQDN) of your server. This must match what you type in your browser, if not then this will result in a mismatch error. | https://noblue.co.uk |
| Organisation | This is the legal name of your business. This should not be abbreviated and should be the full registered name, if you’re struggling then search your businesses name on https://beta.companieshouse.gov.uk/ | NoBlue Limited |
| Organisation Unit | The division/industry of your business | Information technology consultancy activities |
| City/Locality | The city your business is located | Nottingham |
| State/County/Region | The county/region your business is located | Nottinghamshire |
| Country | This is the two-letter ISO code of the country your business is located | GB |
| Email Address | An email address for contact purposes | [email protected] |
| Public Key | The public key that will go into the certificate | Generated automatically |
[/gem_table][/vc_column_inner][/vc_row_inner][/vc_column][/vc_row]
If done correctly you should now have the following two files in C:\OpenSSL\bin sub.mydomainkey and sub.mydomainkeycsr.csr. Your CSR should look something like this;
-----BEGIN CERTIFICATE REQUEST-----
 MIIByjCCATMCAQAwgYkxCzAJBgNVBAYTAlVTMRMwEQYDVQQIEwpDYWxpZm9ybmlh
 MRYwFAYDVQQHEw1Nb3VudGFpbiBWaWV3MRMwEQYDVQQKEwpHb29nbGUgSW5jMR8w
 HQYDVQQLExZJbmZvcm1hdGlvbiBUZWNobm9sb2d5MRcwFQYDVQQDEw53d3cuZ29v
 Z2xlLmNvbTCBnzANBgkqhkiG9w0BAQEFAAOBjQAwgYkCgYEApZtYJCHJ4VpVXHfV
 IlstQTlO4qC03hjX+ZkPyvdYd1Q4+qbAeTwXmCUKYHThVRd5aXSqlPzyIBwieMZr
 WFlRQddZ1IzXAlVRDWwAo60KecqeAXnnUK+5fXoTI/UgWshre8tJ+x/TMHaQKR/J
 cIWPhqaQhsJuzZbvAdGA80BLxdMCAwEAAaAAMA0GCSqGSIb3DQEBBQUAA4GBAIhl
 4PvFq+e7ipARgI5ZM+GZx6mpCz44DTo0JkwfRDf+BtrsaC0q68eTf2XhYOsq4fkH
 Q0uA0aVog3f5iJxCa3Hp5gxbJQ6zV6kJ0TEsuaaOhEko9sdpCoPOnRBm2i/XRD2D
 6iNh8f8z0ShGsFqjDgFHyF3o+lUyj+UC6H1QW7bn
 -----END CERTIFICATE REQUEST-----
Requesting a Certificate
This process varies for different SSL providers but they all follow the same principle.
As we use GoDaddy we login into our account and go the SSL section. Other SSL providers might be different but GoDaddy is quite straightforward. One we’ve purchased an SSL we select “set up” to be taken to a new page.

From the example you can see above, we’ve taken the CSR which we generated earlier and pasted it into the box “Provide a certificate signing request (CSR)” which then populates the domain name based on the information you provided earlier. To confirm this there are terms and conditions you have to agree to, once you’ve read through those you can request your certificate.
You may need to verify domain ownership if it was purchased from another domain provider. To do this you have two options;
- HTML Page – Uploading a unique ID and creating a directory /.well-know/pki-validation/ in the highest level directory of your website and uploading the page as .godaddy.html
- DNS Record – You receive an email with a TXT value which you need to create in your domain names DNS zone file.
GoDaddy state this can take 5-10 minutes, other SSL providers may say it takes longer to verify. As soon as it is verified we’re able to retrieve our SSL certificate.
After retrieving the SSL we should have;
- The certificate signing request file (csr)
- The private key file (.key)
- The SSL certificate (sub.mydomain.crt)
- The intermediate certificate (sub.mydomain_ca.crt)
From this list, we will only need the private key, sub.mydomain.crt and sub.mydomain_ca.crt.
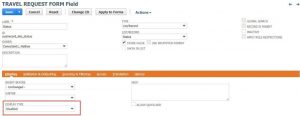
Activating your SSL Certificate within NetSuite
Having generated the relevant files, now we need to log into the NetSuite dashboard with an administrative role for the domain/subdomain we’re wanting to add the SSL certificate too. Once logged in navigate to Documents > Files > File Cabinet and then select SSL Certificates in the left-hand menu. From here you can select Add File and upload your .crt fils.

With your certificate uploaded the final thing to do is navigate to the domain you’re wanting to attach the SSL certificate too. To do this go to Set Up > Site Builder/SuiteCommerce Advanced > Domains. From here you should have a list of domains and subdomains associated with your account, in a lot of cases, this is checkout.yourdomain.com. Simply click edit to be taken through to the Set Up Domain page.
With your .crt and _ca.crt file already uploaded to the file cabinet, you click the two arrows in the Certificate field, select list, change the dropdown to SSL Certificates and select the .crt file which we referenced earlier as sub.mydomain.crt. Repeat this process for CA Certificate but selecting the sub.mydomain_ca.crt.

For the key password field, you will need to enter the secure phrase you created when creating a private key. In the Certificate Key, you will need to paste the contents of the CSR file and you should have something similar to the image above. Now click save and your SSL certificate should be live on your domain.
If you’re wanting to test it’s all working a great free tool to use is SSL Labs SSL testing tool which will give you all the information you need to ensure the SSL is properly setup with your SuiteCommerce site.
If you have any questions please feel free to contact our consulatants who would happily advise should you require it.