We’re continuing our series of short guides to support our NetSuite customers, with hints and tips to make their lives easier when using NetSuite. This month’s guide is all about setting up custom KPIs, which allow you to easily view only the information you need.
One of the key benefits of using NetSuite is the way it gives you a complete view of your business from one place. This overview helps you understand your current performance and lets you identify ways to improve Central to this are the key performance indicator (KPI) portlets, which provide all the details you need to know at a glance. In our previous guide “Understanding the dashboards”, we explained how to add KPI portlets to your dashboards.
In addition to the standard KPIs offered by NetSuite, you can add custom KPIs, from your saved searches. In this article we’ll explore how to create a new search and use it to create a custom KPI. as well as how to turn an existing search into one. Finally, we’ll cover how to add them to your KPI portlets too.
Creating a new search to be a custom KPI
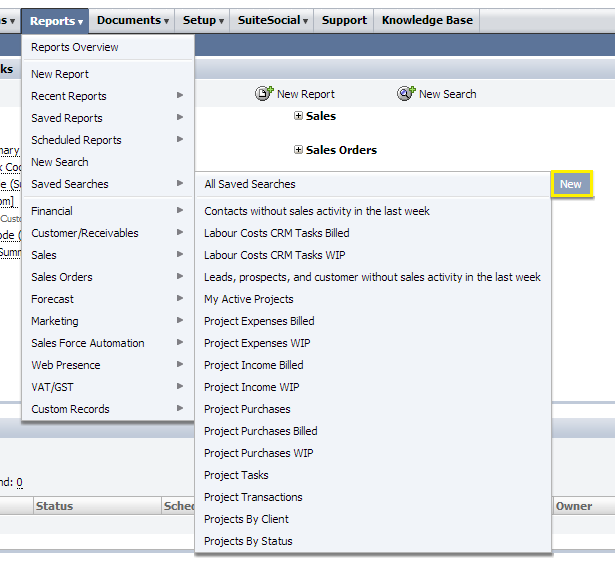
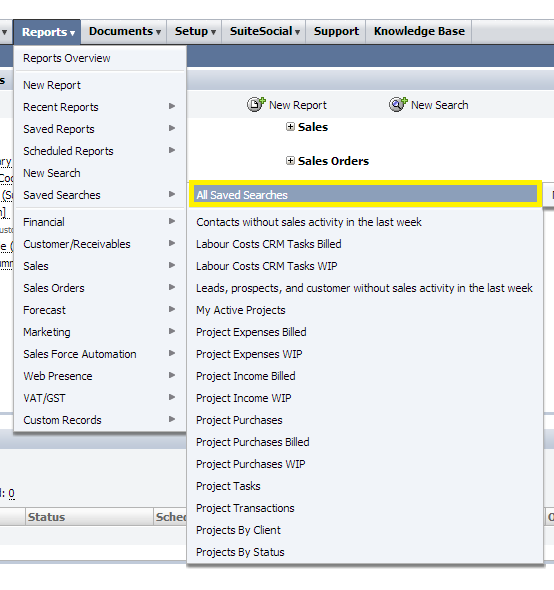
1. Choose Reports > Saved Searches > All Saved Searches > New (if you don’t have access to the reports tab, speak to your administrator)
2. In the New Saved Search list, select the required Search Type.
3. On the Saved Search form, enter a title for the search. (This title will appear in the custom KPI dropdown list in the “Set Up Key Performance Indicators” popup.)
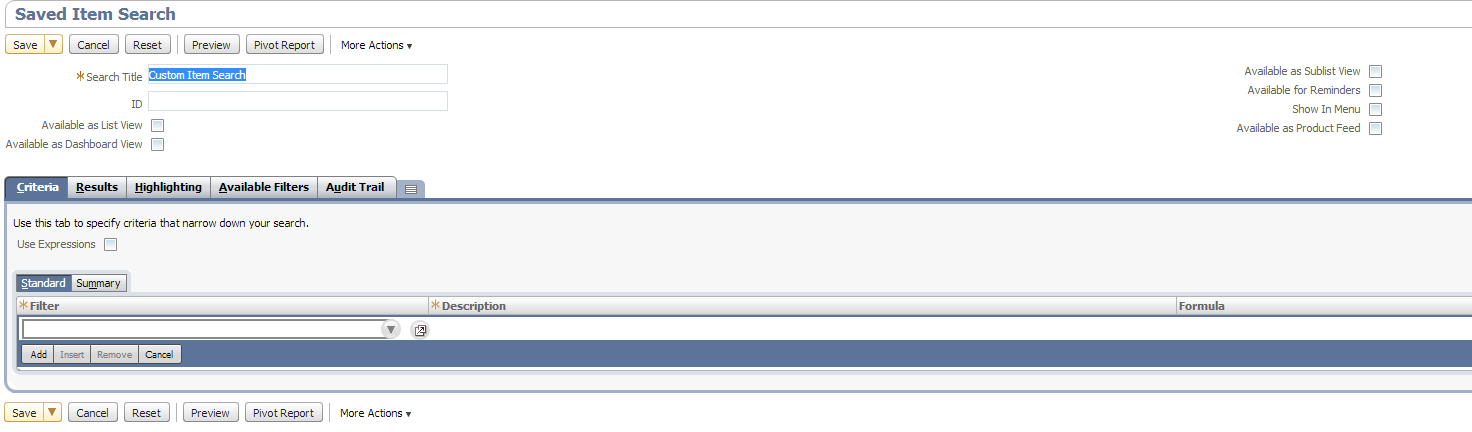
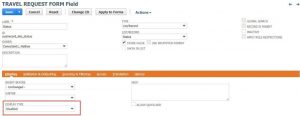
4. Define your other search characteristics, such as Criteria that limit the returned data, Results that determine the displayed search results, and Available Filters that allow you to re-filter data on the results page of a search.
- If you simply want to display a count of the number of search results for a KPI, any saved search should work.
- But if you want to display summary data for the KPI, such as sum (total), average, minimum, or maximum, then on the Results subtab, you must select a field (such as Amount), then select a Summary Type, and click Done.
Note: KPIs cannot enforce summary search filters because KPI calculations do not include groupings. If a saved search used as a custom KPI includes any summary search filters, the result for the KPI may differ from results when the search is run.
- If you want to display a comparison of saved search data for different time ranges, or to display the data in a trend graph, KPI meter, or KPI scorecard, the search must:
– Not have a date range defined as search criteria.
– Have only one field with a summary type (such as group, sum, or count) defined.
– Have a date column defined as a Filter on the Available Filters subtab of the Saved Search form.
Note: If the type of search you’ve selected does not offer a date column as a filter, you may be able to use a different type of search, for example, a transaction search.
5. When you are finished defining the search, click Save. (You can also choose Save & Run to verify the search results are what you expect.)
Selecting an existing search to be a custom KPI
1. Choose Reports > Saved Searches > All Saved Searches (if you don’t have access to the reports tab, speak to your administrator)
2. In the Saved Searches list, click Edit next to the search you want.
Please note: You need to ensure that the search has been defined correctly to display KPI data in the manner you want.
- If you simply want to display a count of the number of search results for a KPI, any saved search should work.
- But if you want to display summary data for the KPI, such as sum (total), average, minimum, or maximum, then on the Results subtab, you must select a field (such as Amount), then select a Summary Type, and click Done.
Note: KPIs cannot enforce summary search filters because KPI calculations do not include groupings. If a saved search used as a custom KPI includes any summary search filters, the result for the KPI may differ from results when the search is run.
- If you want to display a comparison of saved search data for different time ranges or to display the data in a trend graph, KPI meter, or KPI scorecard, the search must:
– Not have a date range defined as search criteria.
– Have only one field with a summary type (such as group, sum, or count) defined.
– Have a date column defined as a Filter on the Available Filters subtab of the Saved Search form.
Note: If the type of search you have selected does not offer a date column as a filter, you may be able to use a different type of search, for example, a transaction search.
3. Once you’ve edited the search to meet your requirements, re-save it. (Note: If you don’t have the ability to edit and re-save this search, you can ask the owner to edit it, or you can create another, similar search yourself.)
4. Note the title of the search. It will appear in the custom KPI list in the Set Up Key Performance Indicators popup.
Add your custom KPIs to your KPI portlet
For instructions on adding a KPI portlet to your dashboard, please see our previous guide “Understanding the dashboards”. To add your custom KPIs to a KPI portlet, take the following steps:
1. Hover over the down arrow on the top right of the KPI portlet and click “Set Up”.

2. Click Add Custom KPIs to open the “Choose Custom Key Performance Indicators” popup.
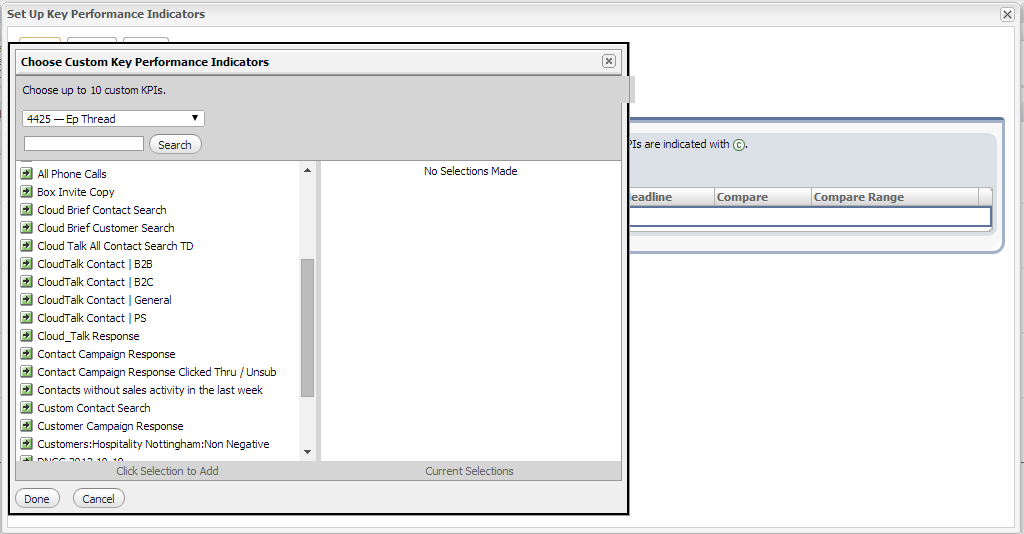
3. Click a saved search in the left list to move it to the right list. You can choose up to 10 custom KPIs.
4. When you have finished, click Done. Selected custom KPIs are listed with “c” icons.
5. Set the date ranges of your choice for each KPI.
6. If you wish, set each KPI to highlight if the indicator is greater than or less than a certain threshold. By doing so you can be alerted if something is not quite right.
7. Choose if you would like to compare results, and if so select the date range in the “compare range” list.
8. Click Save.
If you would like to learn more about how you can use NetSuite’s features such as custom KPIs to give you a better insight into your business’ activities, please don’t hesitate to get in touch with one of our team of experts.
Feel free to share this guide with your colleagues or comment below.
View our other NetSuite guides:
January – “NetSuite tips – Making search easier”
February – “NetSuite tips – Navigating through the application”
March – “NetSuite tips – Understanding the dashboards”
May – “NetSuite tips – creating and editing KPI scorecards”
June – “NetSuite tips – how to set up email alerts”
July – “NetSuite tips – customising and sending emails from records“
August – “NetSuite tips – setting up reminders“
November – “NetSuite tips: An overview of the changes to NetSuite’s user interface“